10.4 Wireless Mic Calibration
If you’re using a MacBook Pro or iMac computer, you could use the computer’s internal microphone. It works okay if you are sitting directly in front of the laptop, but it falters the farther you are from the screen. We need the mobility of being able to converse with our home while walking around, watching TV, making breakfast in the kitchen, or cleaning the living room. This will be accomplished by using a wireless microphone.
For a wireless microphone to reliably work with the Mac’s speech recognizer, it needs to be a decent quality wireless mic with clear audio signal transmission. A mic that delivers crackling, hissing audio won’t work too well because the speech recognizer will struggle to distinguish between the signal and the noise. If this is a project you’re planning on fruitfully using for a long time, invest in a quality wireless microphone, like those used by professional singers. These can cost over two hundred dollars or more, depending on the features and broadcast range, but they make a big difference in consistent delivery of clear audio. For those interested in testing the waters before committing that kind of money in audio hardware, the Radio Shack Wireless Lapel Microphone System is a more economical compromise.
Plug the Griffin iMic adapter into one of the Mac computer’s available USB ports, then plug the output of the wireless base station into the iMic’s miniplug inputs. Make sure that the mic input is selected on the iMic, turn on the wireless mic and power up the base station. Select the iMic USB audio system in the Speech Recognition System Preferences pane and click the Calibrate... button. This will bring up the microphone calibration window (Figure 50, Microphone calibration). Speak into the microphone while moving the slider left or right to keep the audio level in the green bar area.
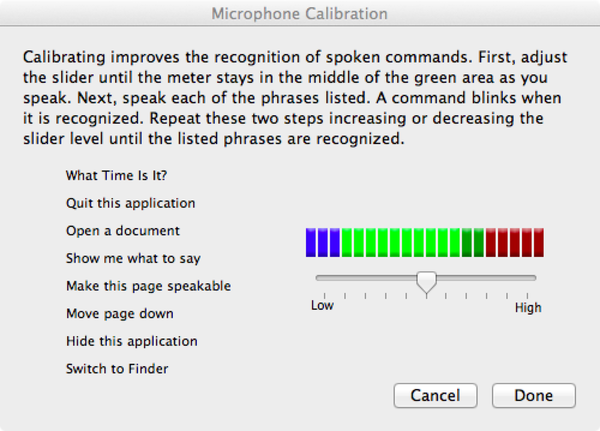
Figure 50. Microphone calibration
Try moving around the room wearing the active wireless mic and verify that the calibration bars still stay within the green while speaking.
We have one more task to complete before we can start coding. Let’s hook up the speakers for audio output.