4.2 Building the Solution
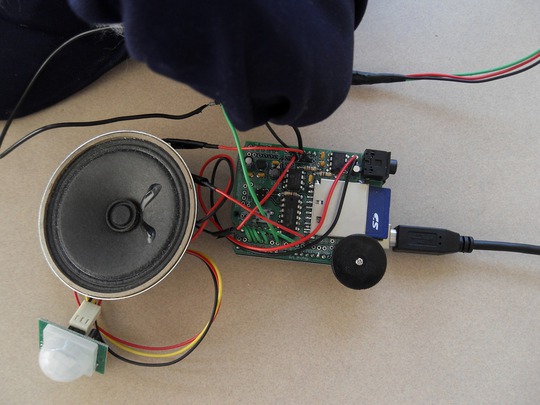
This is one of the easier projects in the book, since it relies entirely on the Arduino, an add-on shield, a sensor, and a servo motor. When constructed, the completed assembly should look similar to the one shown in Figure 7, An Electronic Guard Dog. Here’s how we will build it:
-
Attach an Adafruit wave shield to the Arduino.
-
Connect a PIR to the wave shield’s power, ground, and one of the available digital pins.
-
Connect a servo to the wave shield’s power, ground, and another one of the available digital pins.
-
Download additional Arduino libraries that allow the wave shield to be easily controlled while preventing resource conflicts with sending instructions simultaneously to the servo.
-
Write a sketch that randomly moves the servo and plays back a snippet of audio when motion is detected by the PIR.

Figure 7. An Electronic Guard Dog
If you haven’t already assembled and tested your wave shield, follow Ladyada’s instructions on how to do so.[33] When you have confirmed that it works, we can enhance the board by attaching the PIR sensor and servo motor actuator to the available wave shield’s pins.